
3D modeling has become a powerful part of design and manufacturing across industries. What started as a tool for digital artists has grown into a process for engineers, product developers, architects, and hobbyists. If you're printing a prototype for a client, building a display model for a presentation, or creating production-ready parts, realism matters more than ever. A clean mesh and sharp silhouette only go so far. What brings your design to life are the finer elements: the textures, proportions, and practical details that make people believe what they’re looking at.
Knowing how to create realistic 3D models can significantly enhance the way your project is perceived. It helps your design communicate more clearly and withstand scrutiny. In many cases, they may not function as intended in the real world. That realism is expected in industries such as automotive, aerospace, medical, or architectural design.
Reaching that level requires choosing the proper workflow, paying close attention to structure and finish, and using materials that translate digital precision into physical accuracy. Each step of the process builds on the last. You can’t have high-end texture maps without clean topology. You can’t have smooth printing results without the right filament. Also, skipping final checks almost always leads to avoidable rework.
In this guide, Filamatrix outlines five reliable methods to enhance the realism of your 3D models. We’ll focus on smart modeling habits, proper design techniques, and material choices that help you move from concept to production. If you’re trying to step up your modeling game or refine your process, this is where to start.
How To Make Realistic 3D Models That Look and Feel Right
Before exploring technical techniques, have a clear goal: to make your model as realistic as possible. It needs to feel grounded and dimensional, not flat or artificial. These five tips can help you achieve that result, regardless of the scale or subject of your design.
- Add Realistic Detail To Every Part of Your Design
Your model starts with structure, but it's the detail that makes it convincing. The more thought you give to the smaller elements, the more lifelike your final result will look.
Consider a simple object, such as a coffee maker. It has a brand label, buttons, seams, plugs, and textures. Skip those things, and it becomes a cartoon. Include them, and it becomes something that could live in a kitchen today.
You can also apply this idea to large-scale projects. A 3D model of a city block should include windows, signs, cracks in the pavement, and even sidewalk planters. These features tell a story and provide context, which helps anyone viewing your model believe what they see.
This stage is also where you should look at your mesh closely. Add detail at the polygon level, and use references from real life. For example, if you’re modeling machinery, pull up schematics or photos of real machines and start layering in those details.
- Build a Solid Toolkit That Fits Your Workflow
The next thing to think about is your toolkit. You’ll want to combine good software with your process and mindset for modeling. Programs like Blender, ZBrush, or Fusion 360 give you the power to add, subtract, and refine with precision. However, tools are only helpful if you know how to apply them to a project in progress. You need to approach modeling with both artistic and problem-solving skills. Be ready to test ideas, shift geometry, and work in layers.
If you’re modeling a product like a drone or a water bottle, your toolkit should also support texture application, lighting setups, and even animation if you plan to show it off in motion.
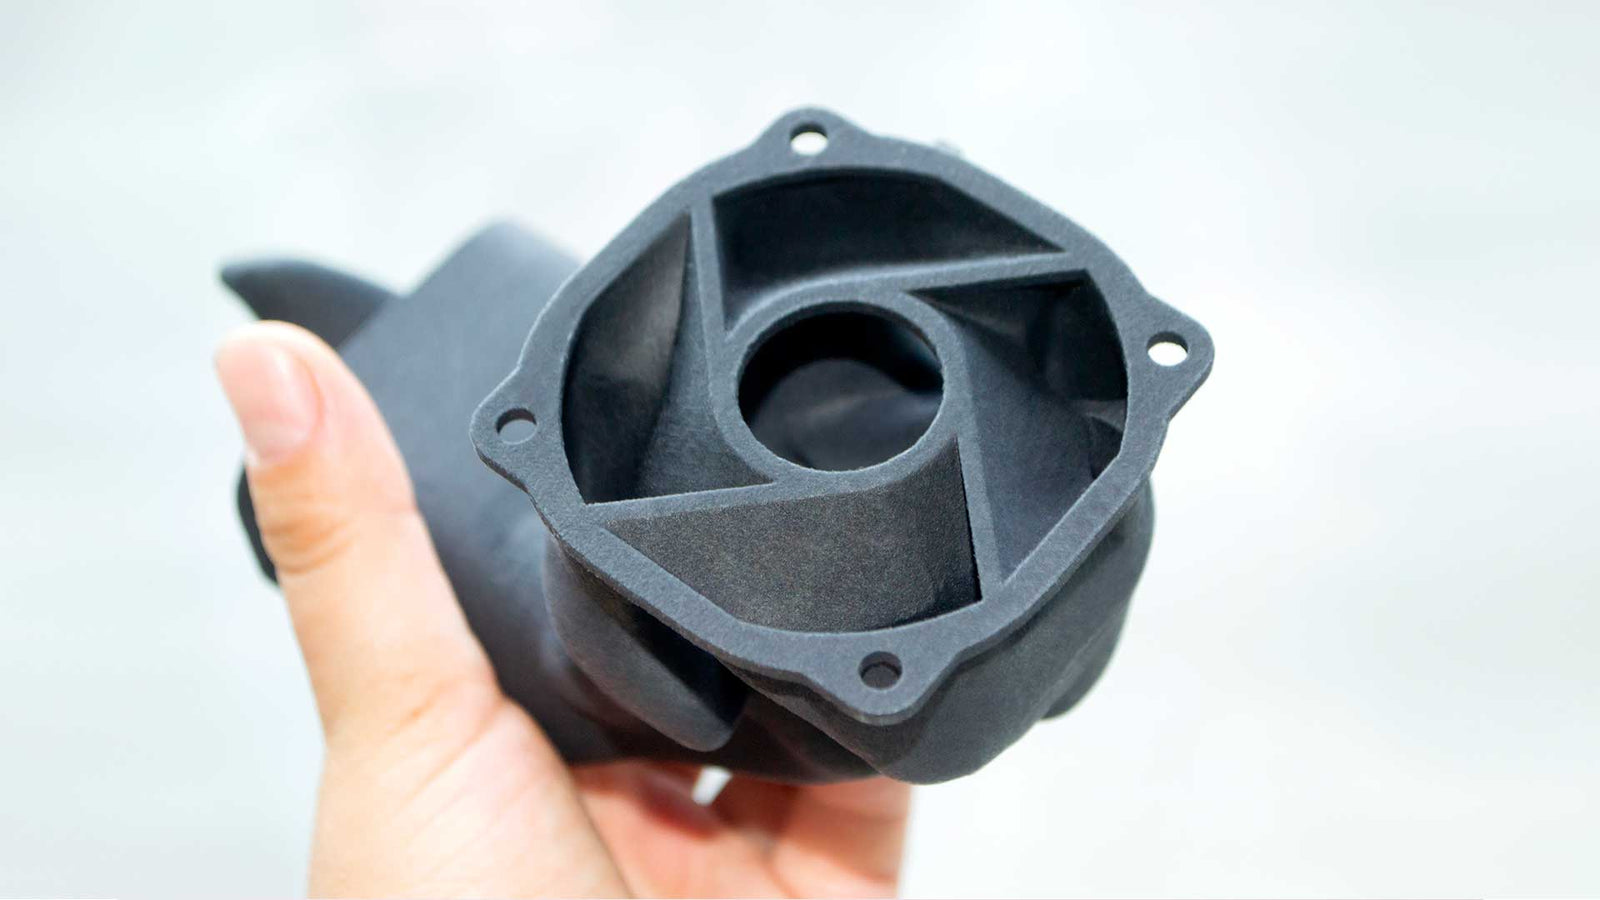
This is also the stage at which material choice begins to matter. For example, using a more rigid PLA or specialized nylon filament allows you to print parts that require a specific physical performance or visual weight. If you’re modeling something mechanical, using an industrial-grade filament helps it look and act the part.
- Get Your Topology Right To Avoid Warping or Distortion
Topology is one of those behind-the-scenes parts of modeling that separates clean work from a cluttered mess. If your polygon layout is incorrect, your model will begin to break down when you pose, print, or animate it.
Your mesh should flow with the shape of the model. That means clean edge loops, good subdivision surfaces, and no overlapping geometry. It’s also smart to use quads whenever possible instead of triangles, which often introduce shading errors.
Poor topology around joints can cause unusual bends and breaks, such as those found in a human figure. On a building, it might create jagged window frames or uneven edges. Spend time adjusting this part early so you don’t have to fix it later.
Topology also affects how textures sit on your surface, so if you want your materials to look good, this step can’t be skipped.
- Use Texture To Bring Surfaces To Life
One of the most powerful tools in making your model look real is the texture map. This adds the grit, the shine, the wear, and the realism. Without it, even a perfectly shaped model can still feel fake.
Let’s say you’re modeling a motorcycle. It’s not enough to shape the body and wheels. You need to add rubber grain to the tires, reflectivity to the chrome, tiny scratches to the metal, and fingerprints on the tank. They’re the cues that trick the brain into thinking, “This is real.”
UV mapping enables you to apply these textures to the correct locations, but it’s more than just a technical step. It’s also a creative one. What story does this object tell? Is it brand-new or worn-in? Was it used indoors or outside?
If your project is going to be 3D printed, you also need to consider what textures can be effectively translated to filament. Some filaments can capture excellent detail, so choosing the right material is just as important as applying the right texture.
- Don’t Skip the Final Checks—They Matter More Than You Think
Finishing touches often make the most significant difference in the realism of your model. This is the time to zoom in, rotate around, and double-check every side. Are the edges clean? Are your materials consistent? Does anything look off at first glance?
At this point, you should also test print if you plan to produce the model physically. This helps identify any issues, such as thin walls, floating geometry, or unsupported parts. A well-modeled design should print cleanly with minimal support material.
If your model includes multiple parts, confirm that they connect or fit together correctly. It’s easy to overlook these kinds of things when you’re focusing on the look. But if it’s not functional, it’s not finished.
Even minor tweaks can significantly alter how your model is perceived. Examples include adjusting the lighting for a render or toning down a texture. Realism is about balance, and that comes from refining every detail.
Why Materials Matter In Realistic 3D Modeling
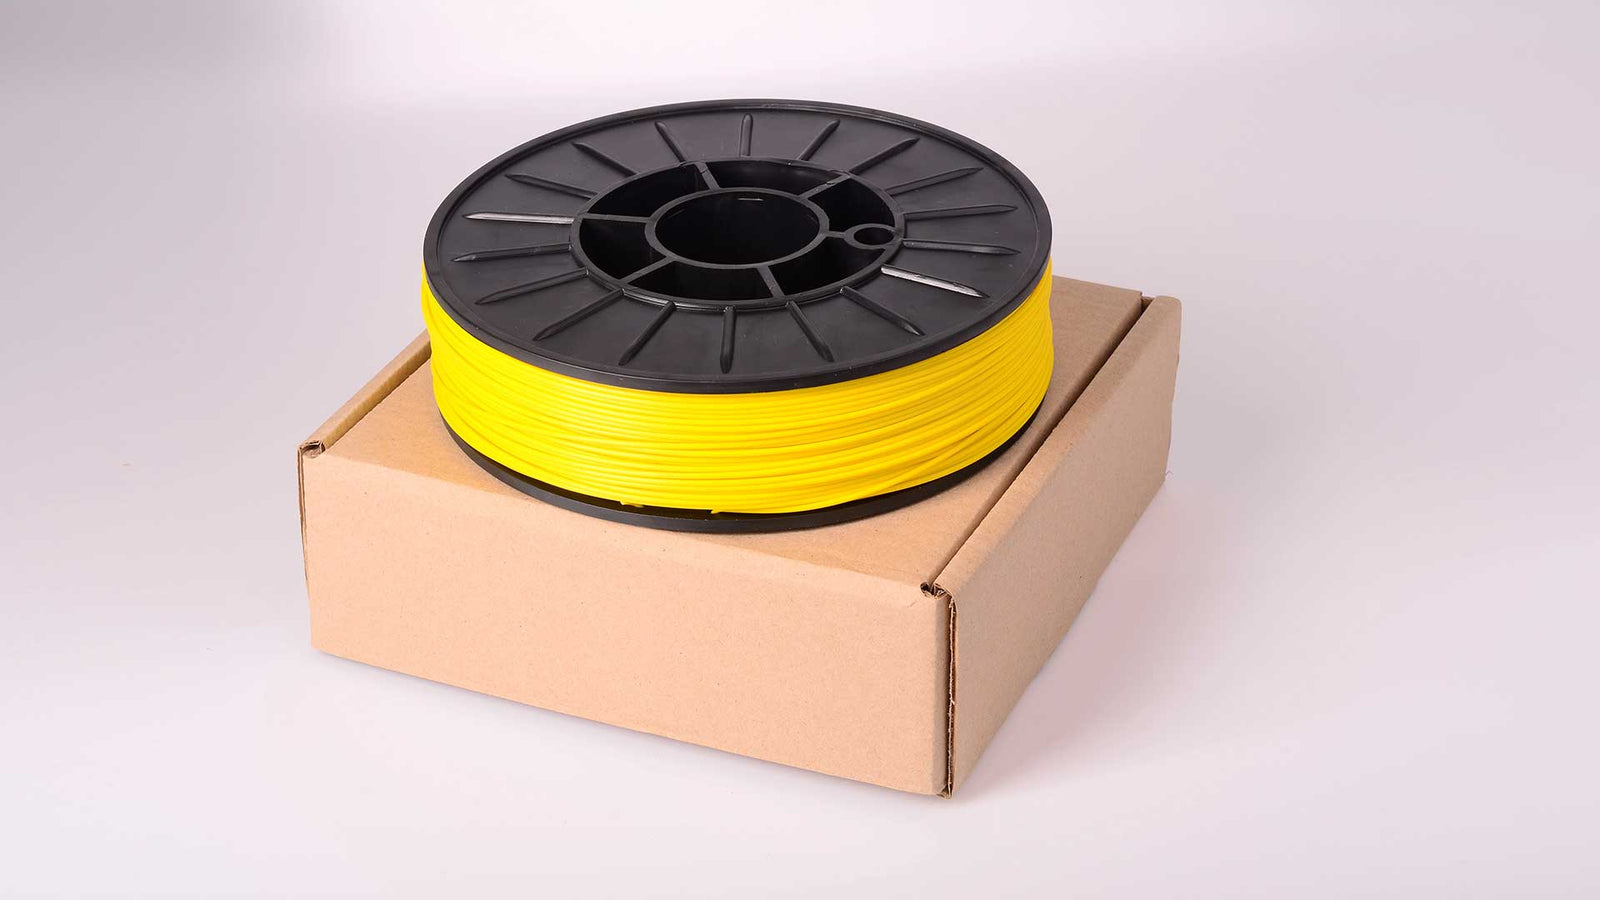
If you want your model to bridge the gap between digital concept and physical reality, material selection plays a role. The filament you use affects not just the strength and finish of the model, but also its weight, color, depth, and ability to hold small details.
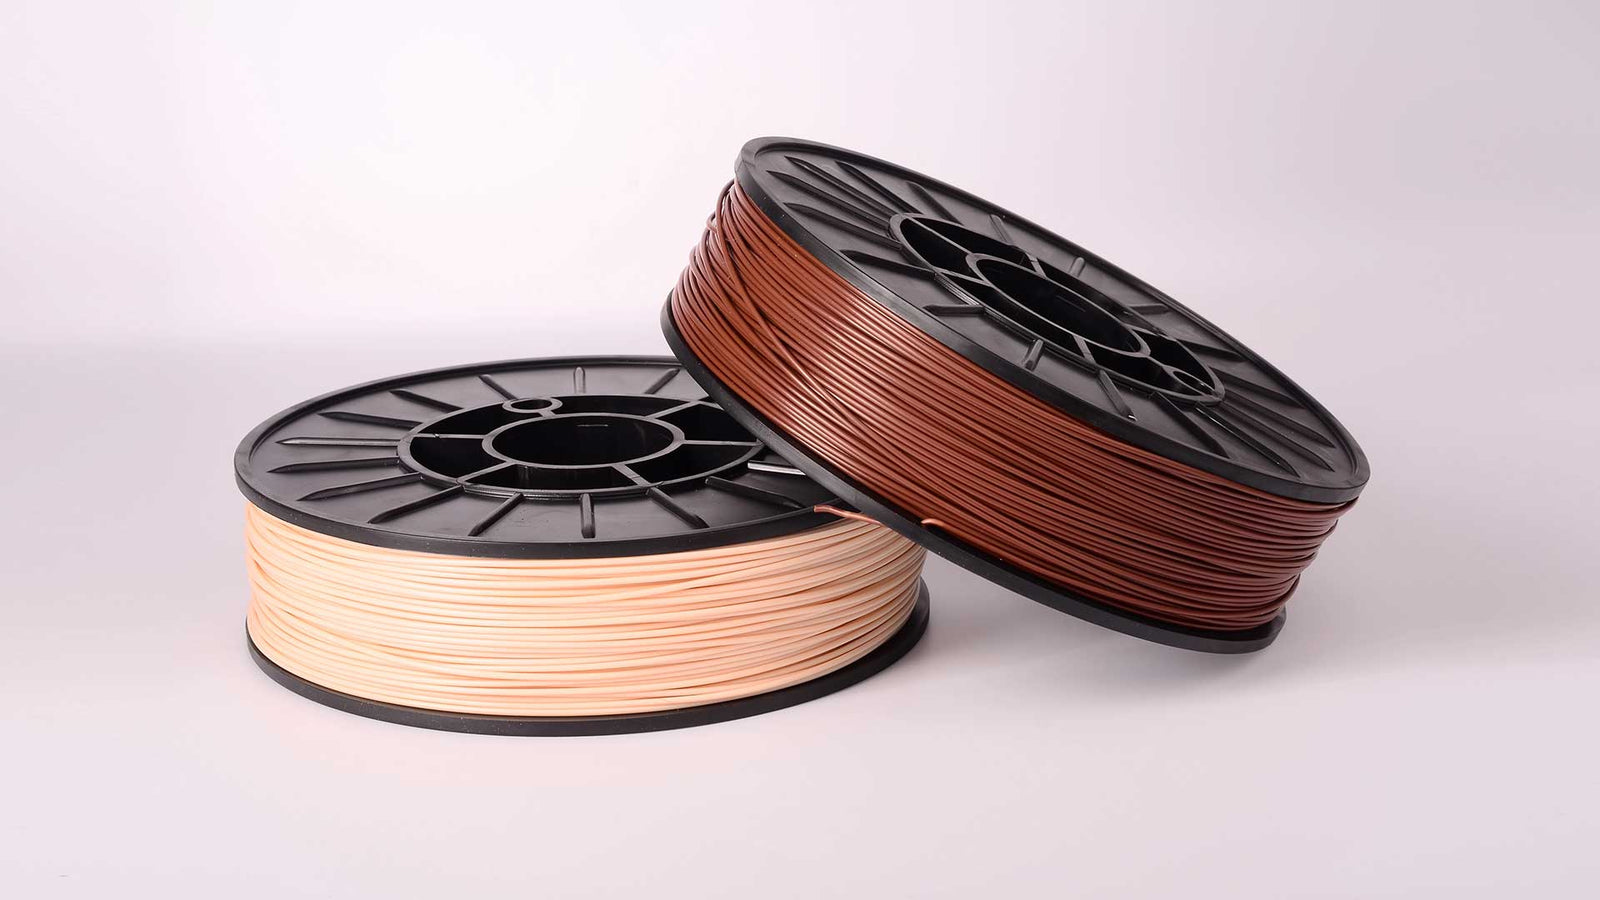
PLA is a reliable choice for basic structures and test prints, while tougher PLA variants help add durability and sharper edges. Nylon or fiber-reinforced options offer both flexibility and resistance for more demanding models, such as functional parts, moving joints, or industrial components.
At Filamatrix, we’ve spent decades mastering polymer extrusion so you can trust every filament you load into your printer. Refining a creative idea or developing a prototype for production? Our materials can help your model feel and function the way it should.
Building Realism, One Layer at a Time
No one technique creates realism on its own. It’s the combination of detail, design, topology, texture, and final polish that brings a model to life. Learning how to create realistic 3D models involves developing the habits that strengthen your work from the inside out.
At Filamatrix, we support creators and professionals who care about quality. All of our filament is made in the USA with tight tolerances and industrial-grade consistency. We offer a wide range of PLA and Nylon filaments, including carbon fiber, glass fiber, and Kevlar blends. Custom solutions and formulations are also available. Our team is always here to help with technical questions, and we ship most orders the same day or the next.
If you’re ready to build better and design sharper, we have the materials to help your next model stand out, down to the finest detail.
Frequently Asked Questions (FAQ)
How do I start making realistic 3D models as a beginner?
Start with simple models and work your way up. Choose a reliable 3D modeling software, such as Blender or Fusion 360, and focus on learning the basics, including geometry, scaling, and texturing. Study real-world objects and always use reference images while modeling.
Accuracy in shape and proportion is more important than fancy effects early on. Once you’re comfortable with shapes, move on to textures and surface details. And don’t forget to test your models with prints using basic PLA filament before moving on to specialty materials.
What’s the best software for creating realistic 3D models?
The best software depends on your project. Tools like Fusion 360 and SolidWorks offer precision and functionality for mechanical or engineering designs. On the other hand, Blender and ZBrush are great options for artistic or character-based models.
Blender is a strong all-around choice. It’s free, open-source, and includes everything from sculpting to rendering. Make sure your software supports effective UV mapping and topology controls, both of which are important for realism.
What materials should I use for printing realistic models?
PLA is a great starting point. It prints easily and is cost-effective. Tough PLA is ideal for prints that need more strength and sharper edges. For advanced realism and durability, nylon-based materials are often the best choice.
Nylon carbon fiber and nylon glass fiber filaments offer excellent strength, heat resistance, and fine detail retention. If you’re printing something that needs to function as well as look good, go with industrial-grade materials.
How important is texture in realistic 3D modeling?
Texture is one of the most significant contributors to realism. A model without texture often appears flat, regardless of its shape. Applying the right textures can dramatically enhance the realism of your model.
You’ll need proper UV mapping to make sure textures are applied correctly to your model. Use high-resolution images for improved surface detail, and consider utilizing bump or normal maps to simulate depth without requiring additional geometry.
Can 3D-printed models really resemble finished products?
Yes, with the proper process and materials. Using advanced 3D modeling techniques, high-resolution printing, and post-processing steps such as sanding, painting, or vapor smoothing, printed models can closely resemble production-ready parts.
The type of filament you use also matters. Some specialty materials, like carbon fiber or matte PLA, can enhance surface appearance and reduce the need for finishing.
How do I know if my model’s topology is clean enough?
Good topology means your geometry flows logically and cleanly across the surface. You should use mostly quad polygons, avoid overlapping vertices, and keep your edge loops tight and evenly spaced.
If your model deforms poorly when posing or shows shading issues when rendered, your topology might need cleanup. Most modeling software includes tools to highlight topology problems, so make it a habit to check your mesh before moving on to UVs or textures.