3D printing continues to expand across various industries, providing customized solutions for a wide range of applications, from automotive parts to wearable products. However, even as new materials and techniques emerge, one challenge remains constant: creating durable prints that withstand stress.
Learning how to make 3D prints stronger is beneficial, whether you're building end-use parts or functional prototypes. If your prints crack, bend, or fall apart when tested, then something needs to change. At Filamatrix, we’re breaking down the five most effective ways to boost the durability of your prints without overcomplicating the process. These strategies are straightforward to implement and yield significant improvements in overall performance.
How To Make 3D Prints Stronger: What You Need To Know First
Not all weak prints are caused by one single problem. It often takes a combination of better materials, smarter settings, and minor adjustments to fix common strength issues. Your slicer settings, printer hardware, and filament type all work together to determine the final quality of your prints.
To achieve stronger prints, you’ll need to think beyond just infill and explore areas such as wall thickness and orientation. Making these kinds of tweaks doesn’t require a total overhaul of your process. It simply requires a better understanding of what affects strength and how each variable can work in your favor.
Let’s examine five ways to create prints that can withstand a beating without breaking.
- Use High-Strength Materials From the Start
Filament choice is the foundation of a strong print. Some filaments are made for convenience or low cost, while others are made to withstand heat, pressure, or impact. If strength is a priority, you’ll want to select materials specifically designed for the job.
Nylon reinforced with Kevlar or carbon fiber is ideal for structural parts or tool components. It’s durable, heat-resistant, and has a higher strength-to-weight ratio than basic PLA. TPU is another smart option when flexibility is required, like for gaskets or wearable parts.
Also consider PETG for a good mix of strength, ease of use, and chemical resistance. Each filament offers distinct properties, so choose one that best suits your application. Selecting the right material can often prevent weak prints from occurring.
- Increase Infill Density (The Right Way)
Infill determines the solidity of your part on the inside. It’s a quick and often overlooked fix for weak prints. Most slicers default to 15–20% infill, which is sufficient for models that don’t require extreme strength. However, when your prints are under stress or load, that number needs to increase.
You don’t always need to jump to 100% infill. That can waste filament and extend print time without much benefit. Instead, experiment with 30–60% infill and pair it with infill patterns designed for strength, such as grid, cubic, or gyroid. These patterns distribute stress more evenly and hold up better under load.
Don’t be afraid to test. Try printing small samples with different densities and patterns to see what works best for your specific project.
- Use the Right Nozzle Size for the Job
Nozzle size directly affects the strength of bonding between your walls and layers. A larger nozzle (such as 0.6mm or 0.8mm) lays down thicker lines, which helps improve part strength and speeds up the printing process. The trade-off is reduced detail, so it’s a matter of balancing what matters most for your print.
Bigger nozzles often give better strength for functional parts because they produce thicker perimeters and fewer gaps. Ensure your printer and slicer are properly set up to handle the material. You’ll need to adjust layer height and flow rate to get consistent results. This is a minor hardware modification that can have a significant impact on part durability.
- Optimize Part Orientation in the Slicer
Orientation affects how your layers build up and their strength under stress. Layers are the weak spot in most 3D prints, so aligning them with the direction of stress can make a big difference.
Use your slicer to rotate the part and experiment with positioning. You want your walls and key structural points to print in the same direction as the load they'll face. That way, the layers aren’t pulling apart when pressure is applied.
Even something as simple as turning a bracket 90 degrees can mean the difference between a cracked print and one that holds firm.
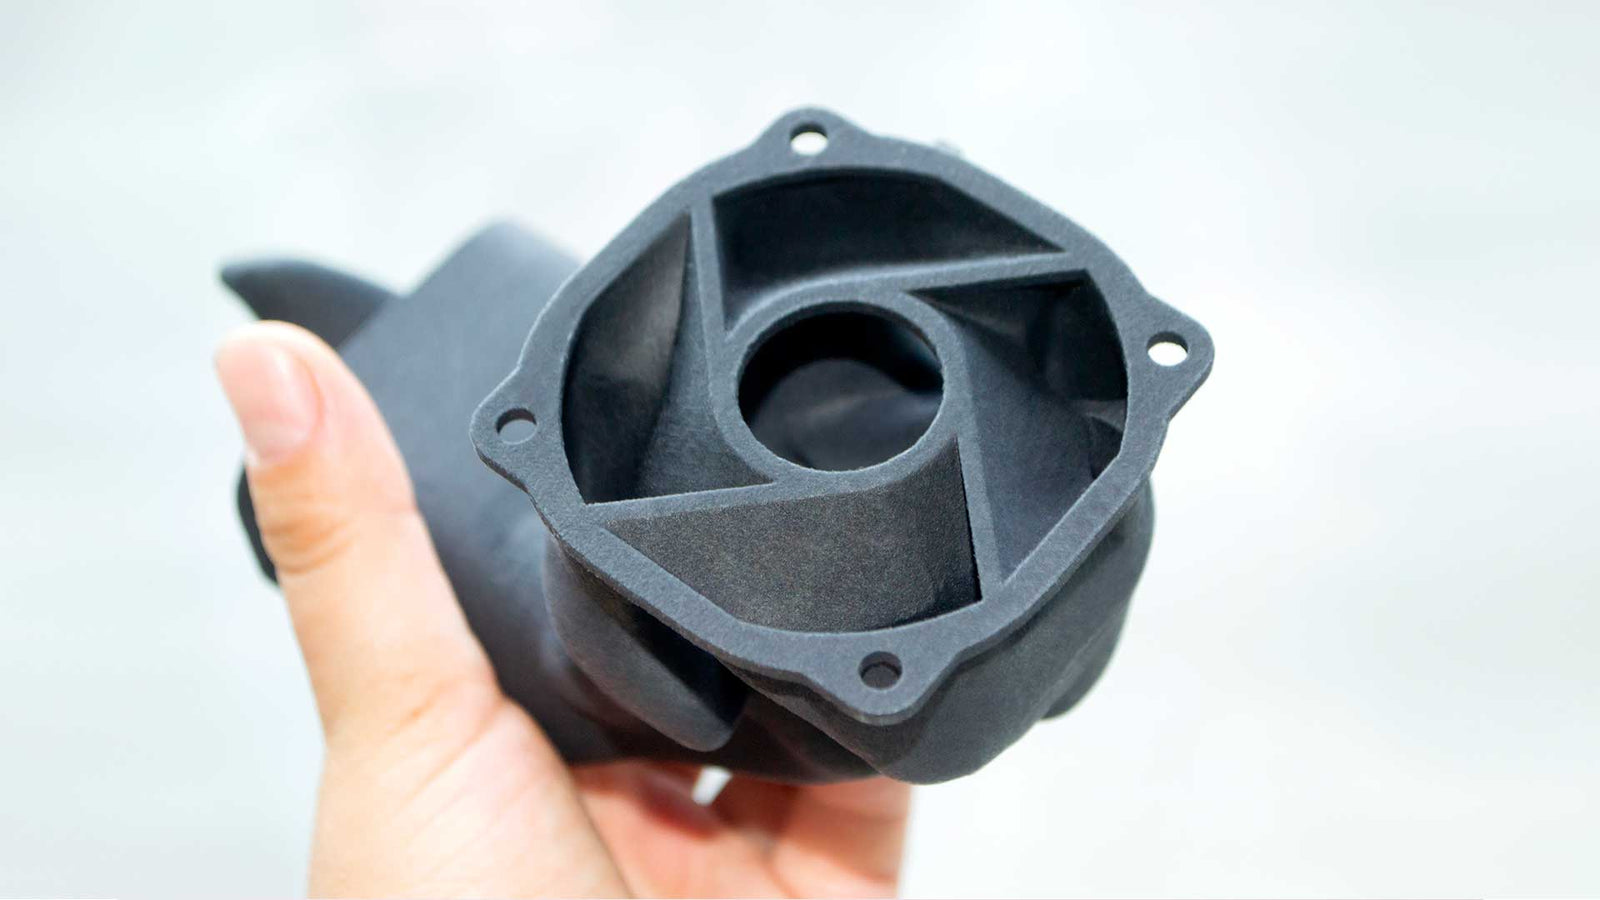
- Add Thicker Walls and More Perimeters
Wall thickness contributes more to strength than infill in most cases. Think of your print like a shell; the thicker the shell, the more durable the part becomes.
Most slicers default to two or three perimeters, but you can boost that up to six, eight, or even ten without much extra print time. This provides your print with a solid outer structure and enhances layer adhesion. It’s handy for holes, mounting points, and threaded areas where pressure tends to focus.
In many cases, increasing the perimeter provides a faster strength gain than adjusting the infill. It’s a more innovative use of filament, and it often improves surface quality too.
Don’t Just Print: Build Something That Lasts
3D printing is more than just hitting “print” and hoping for the best. It’s about tuning your settings, understanding your materials, and carefully considering every step of the process. When you do, you get parts that withstand real-world use.
Whether you’re building drone frames, automotive components, or flexible wearables, durability is crucial. Now that you know how to make 3D prints stronger, you can tackle projects with more confidence.
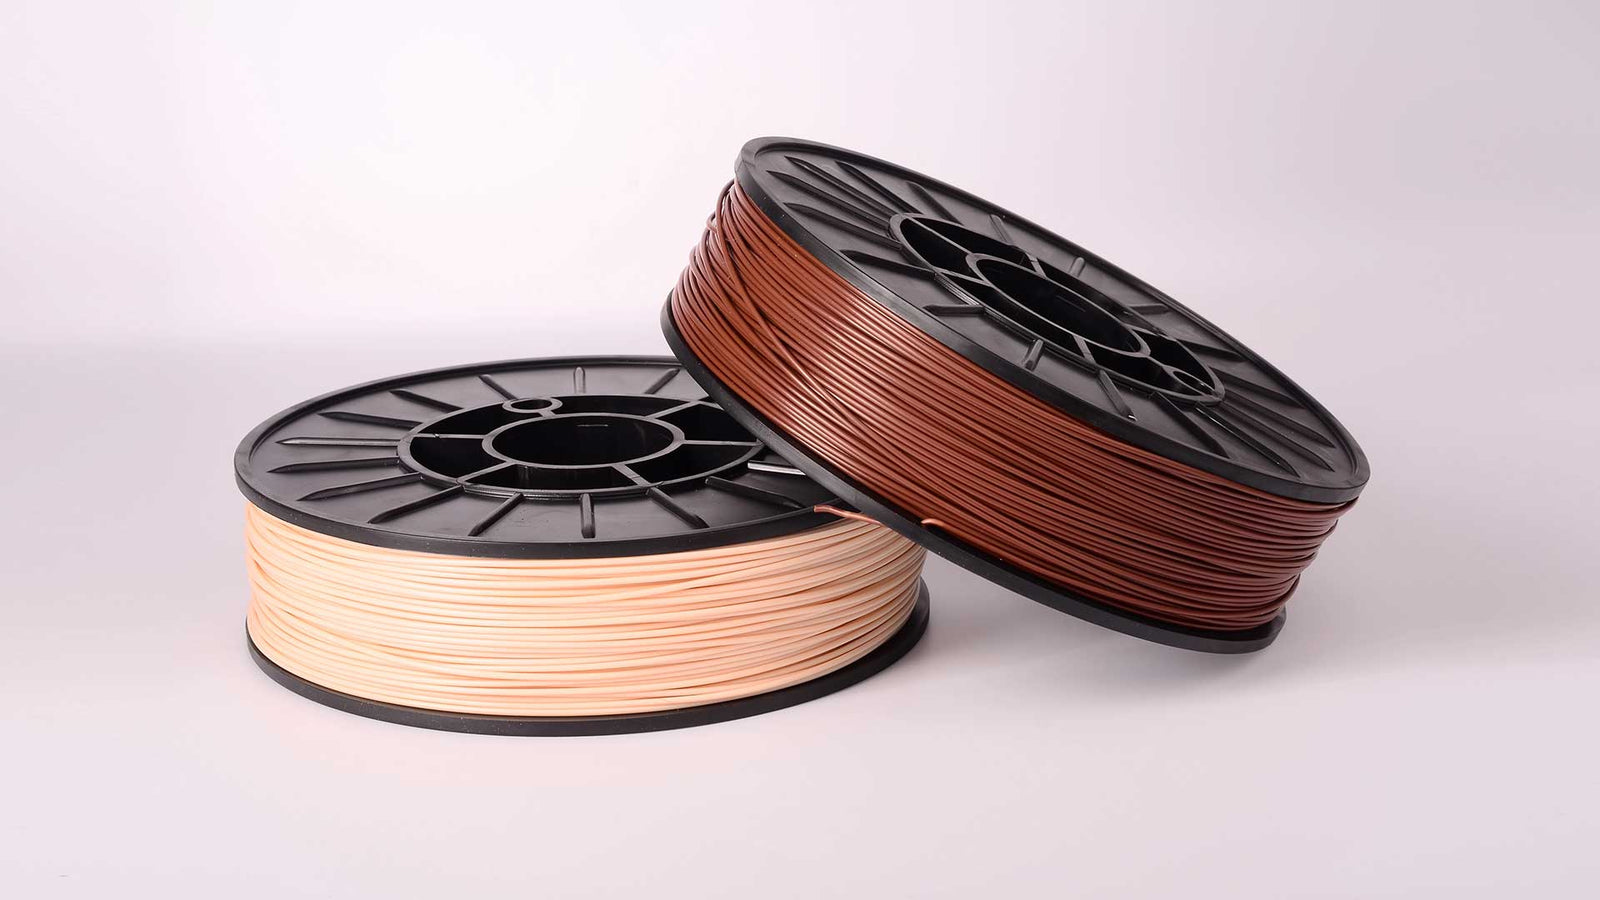
At Filamatrix, we support makers who expect more from their prints. Our filament selection includes high-performance options such as Nylon, PETG, carbon fiber blends, and Kevlar-reinforced materials, all manufactured in the USA. We keep tight tolerances across every spool and offer custom solutions and technical support when you need it.
Get the right filament the first time. Visit our shop and discover durable, high-tolerance materials for your most demanding projects today.
Frequently Asked Questions
What is the strongest filament for 3D printing?
It depends on the type of strength you're looking for. For general toughness, Nylon is one of the top performers. When reinforced with Kevlar or carbon fiber, Nylon becomes ideal for demanding applications, such as automotive brackets or tool parts.
Polycarbonate (PC) is another high-strength option, although it’s more challenging to print and requires higher temperatures. For flexible strength, TPU stands out due to its ability to bend without breaking.
Does 100% infill always make a part stronger?
Not always. While increasing infill can make a part more solid, 100% infill is often overkill. It can cause issues such as warping or wasted material without significant gains in strength. Instead, aim for 40–60% infill with strong patterns, such as a grid or cubic. Combine that with thicker walls and more perimeters to get better strength without unnecessary filament use.
How does wall thickness affect strength?
Wall thickness plays a major role in print strength. Thicker walls provide more material in key load-bearing areas, helping to resist shear and tension. It also improves layer adhesion and makes your parts feel more solid. Going from 2 to 6 perimeters can make a surprising difference without adding hours to your print time.
Can I make weak prints stronger without reprinting?
To a degree, yes. You can post-process parts using epoxy coatings or adhesives to reinforce specific areas. For example, applying a thin layer of resin to the outside can seal the surface and reduce cracking.
You can also use mechanical inserts, such as threaded brass inserts, to add strength where bolts or screws are used. However, for significant structural improvements, changing the print settings and reprinting is a more effective long-term solution.
Does nozzle size really affect print strength?
Yes, it does. Larger nozzles lay down thicker lines of filament, which means fewer gaps and stronger layer bonding. A 0.6mm or 0.8mm nozzle is ideal for printing functional parts that require durability under pressure. You may sacrifice some surface detail, but in return, you gain greater strength and faster print times. It’s a solid trade-off for industrial or mechanical prints.
Why do my prints break along layer lines?
This usually means your layer adhesion is weak. Several factors could be causing the issue: your nozzle temperature might be too low, your cooling fan might be running too high, or your layer height might be incorrectly set for your nozzle size. Also, your part might be oriented in a way that exposes the weak layer lines to stress. Rotating your model in the slicer can help align those layers to better support the force.
Should I change print orientation for every part?
It’s worth evaluating every part individually. Orientation affects how forces travel through your print, so adjusting it can lead to stronger results. For example, printing a bracket upright versus flat can change the way the layers hold together. Take time to consider where stress will be applied and rotate accordingly in your slicer.
How can I tell if a filament is high quality?
Look for filaments with tight diameter tolerances (±0.05mm), consistent color, and no visible moisture bubbles or deformities. A good supplier will also provide technical specifications, such as tensile strength and print temperature ranges. All of our Filamatrix filaments are made in the USA, tested for consistency, and packaged to prevent moisture.