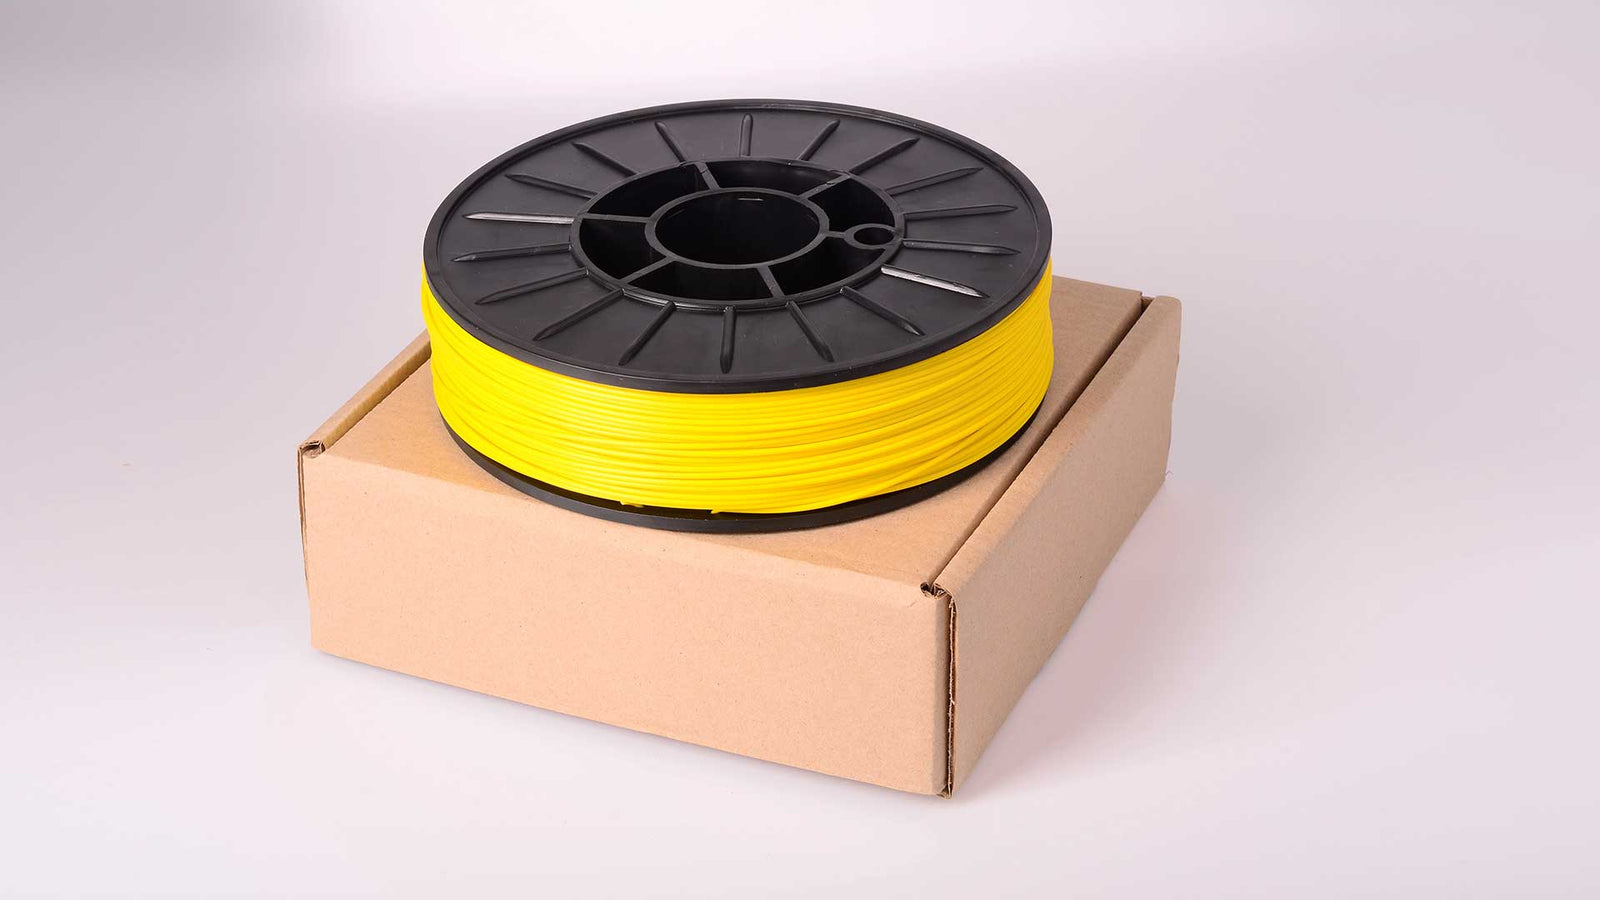

TPU (Thermoplastic Polyurethane) is a flexible filament used for creating rubber-like parts. Knowing how to print TPU correctly can help you achieve the desired results with your 3D projects. This guide will show you how to print TPU with ease, starting from temperature settings to troubleshooting common issues. If you are wondering how to print TPU successfully, follow these steps to achieve smooth and flexible prints every time.
Preparing Your 3D Printer for TPU Filament
Before you start, you need to prepare your 3D printer for flexible filament. TPU has unique characteristics that make it softer than ABS or PLA filaments. First, you should check if your printer has a direct-drive extruder. Bowden setups can be more challenging with TPU because the flexible filament may kink or compress in the long tube.
The next thing to do is check for a clean and clear nozzle. Flexible filaments like TPU are prone to jamming, especially if the extruder is clogged. Cleaning the nozzle and checking that the extruder path is as smooth as possible helps avoid complications.
Setting the Right Print Temperature
Finding the correct print temperature for TPU is important. Generally, TPU filaments require a nozzle temperature between 220°C and 250°C, depending on the brand and type of filament. You can start with a midpoint, say around 230°C, and then adjust based on the print quality.
Another aspect to watch is the heated bed temperature. TPU benefits from good adhesion to the print bed, so setting the bed temperature between 40°C and 60°C often works best. A heated bed also reduces warping and keeps the print smooth.
Slowing Down Print Speed
Printing with TPU requires slowing down the print speed. Unlike rigid filaments, TPU is prone to stringing and inconsistencies if printed too fast. Most users find success by lowering the print speed to between 20 mm/s and 30 mm/s. You should avoid high retraction settings as they can cause jams.
Another tip is to disable the retraction or set it to minimal values. Flexible filaments behave differently during retraction, and too much can lead to filament being pulled into the extruder gears, causing clogs.
Improving Bed Adhesion for TPU Prints
Getting TPU to stick to the print bed is easier when you have the right setup. Using adhesives like glue sticks or blue painter’s tape can improve adhesion. A smooth and clean print surface will help TPU bond during the first few layers of the print.
Consider also using a textured print bed surface if you are struggling with adhesion. TPU sticks well to surfaces like PEI or BuildTak. You can also experiment with turning off the fan for the first few layers to help the filament stick better.
Choosing the Right Slicer Settings
When printing TPU, slicer settings matter a lot. First, set your layer height to between 0.1 mm and 0.2 mm for optimal precision. TPU prints better with lower layer heights, allowing for more detailed and flexible prints.
You should also check your infill settings. For flexible parts, consider lower infill percentages between 10% and 30%, depending on how soft you want the part to be. Higher infill percentages will result in stiffer prints, while lower ones will maintain the filament’s flexibility.
Avoiding Common Issues: Jams and Stringing
One of the common problems with TPU is filament jamming in the extruder. To reduce jams, print at a slower speed and maintain the right temperature. Also, keeping the filament dry is important. TPU is hygroscopic, which means it absorbs moisture from the air, affecting its printability. Store it in an airtight container with desiccants when not in use.
Stringing is another issue many encounter with TPU prints. Reducing the print temperature slightly and fine-tuning the retraction settings can help minimize stringing. You may also want to test different retraction settings to find what works best for your setup.
Post-Processing TPU Prints
Once your print is done, post-processing might be necessary. TPU is easier to cut or trim with basic tools like scissors or hobby knives. Be careful while removing prints from the bed, as TPU is softer and could tear if pulled too quickly.
You can also sand TPU prints, but using fine-grit sandpaper is recommended to avoid damaging the flexible surface. If your print requires assembly, TPU parts can be bonded using super glue or other adhesives specifically designed for plastics.
Using TPU for Various Applications
TPU filament is versatile and has many uses. Its flexibility and durability make it a great choice for printing phone cases, flexible hinges, and even wearable parts. It can also be used for vibration-dampening components in electronics and robotics.
For those interested in mechanical parts, TPU’s elasticity helps in creating seals, gaskets, and custom-fit components that need to maintain flexibility under stress. Its ability to withstand wear and tear makes it a preferred material in many fields.
Drying TPU Filament Before Use
Since TPU is hygroscopic, drying the filament before use is highly recommended. If TPU absorbs too much moisture, it can affect the print quality by causing bubbles or inconsistent extrusion. Using a filament dryer or placing the spool in an oven at low temperatures (around 50°C) for a few hours can remove excess moisture.
Keeping the filament dry during printing is also key. Using filament enclosures or dryers that feed directly into the printer can help maintain the quality throughout the printing process. Moisture control is one of the most overlooked aspects of printing with TPU.
Troubleshooting TPU Prints
If you experience failed prints or low-quality results, a few troubleshooting steps can help. First, check for under-extrusion by adjusting the flow rate. TPU prints best when the flow rate is slightly increased to account for its flexibility. If your print is too thin or has gaps, increase the flow rate by 5% to 10%.
Another issue could be related to cooling. If your prints show signs of warping or uneven surfaces, try adjusting the cooling fan speed. TPU requires less cooling than rigid filaments, so reducing the fan speed to around 20% to 30% may help improve layer adhesion.
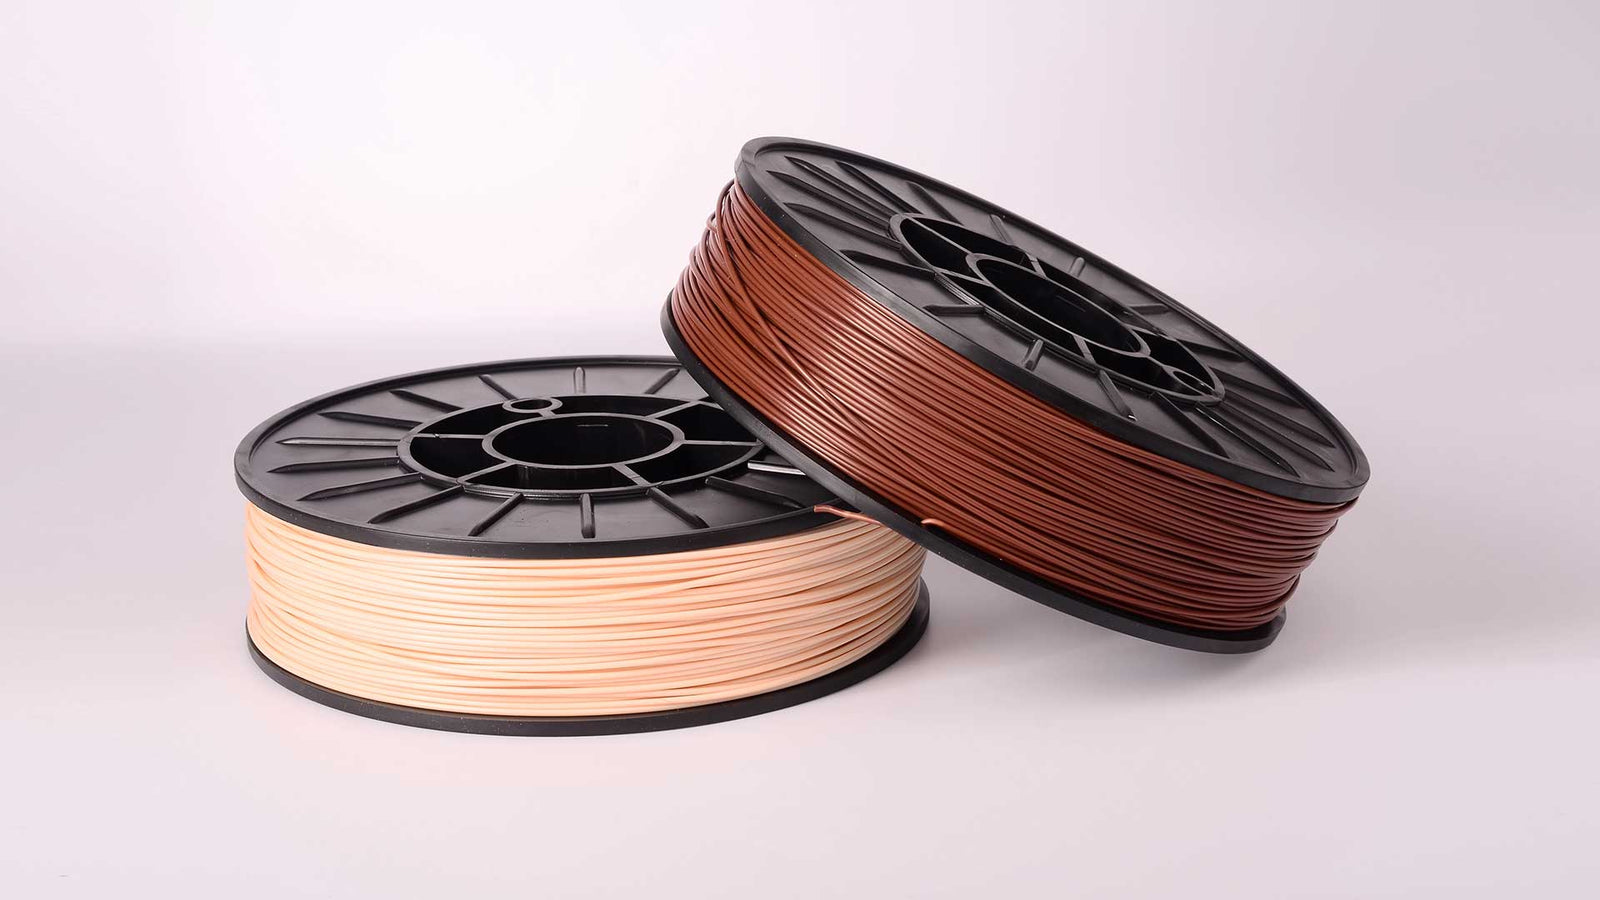
Choosing the Right TPU Filament for Your Needs
When selecting a TPU filament, consider the Shore hardness rating. TPU filaments come in different hardness levels, commonly ranging from Shore 85A to Shore 98A. The lower the Shore rating, the softer the filament. If you need more flexibility, choose a filament with a Shore 85A rating, while Shore 98A TPU offers more rigidity for functional parts.
Look for quality brands that offer consistent diameter and good packaging to prevent moisture absorption. High-quality TPU filaments also tend to have better extrusion stability, which leads to smoother and more reliable prints.
Final Tips for TPU Printing Success
Printing with TPU can be a fun and rewarding experience. Start by fine-tuning your printer’s settings for the filament’s unique flexibility. Adjust your speed, temperature, and retraction settings carefully to avoid issues like stringing and jamming. Pay attention to bed adhesion and keep the filament dry for the best results. With these simple steps, you will be producing flexible and durable TPU prints in no time.
Finally, always test print small models to evaluate the settings before starting larger projects. This helps catch any potential issues early. A bit of patience and experimentation will greatly improve your TPU printing success.